CABCalendarView for iOS
Several years ago I started building an iOS app which was intended to be a sort-of social network centered around events. That app never fully came to fruition but a couple of years later I managed to salvage the calendar view component. I tidied up the code, added documentation and open sourced the code on GitHub.
But why would anyone want to use this particular component? There’s plenty of calendar view components for iOS out there. Well, I believe mine has a number of things going for it. Let’s take a look.
Design
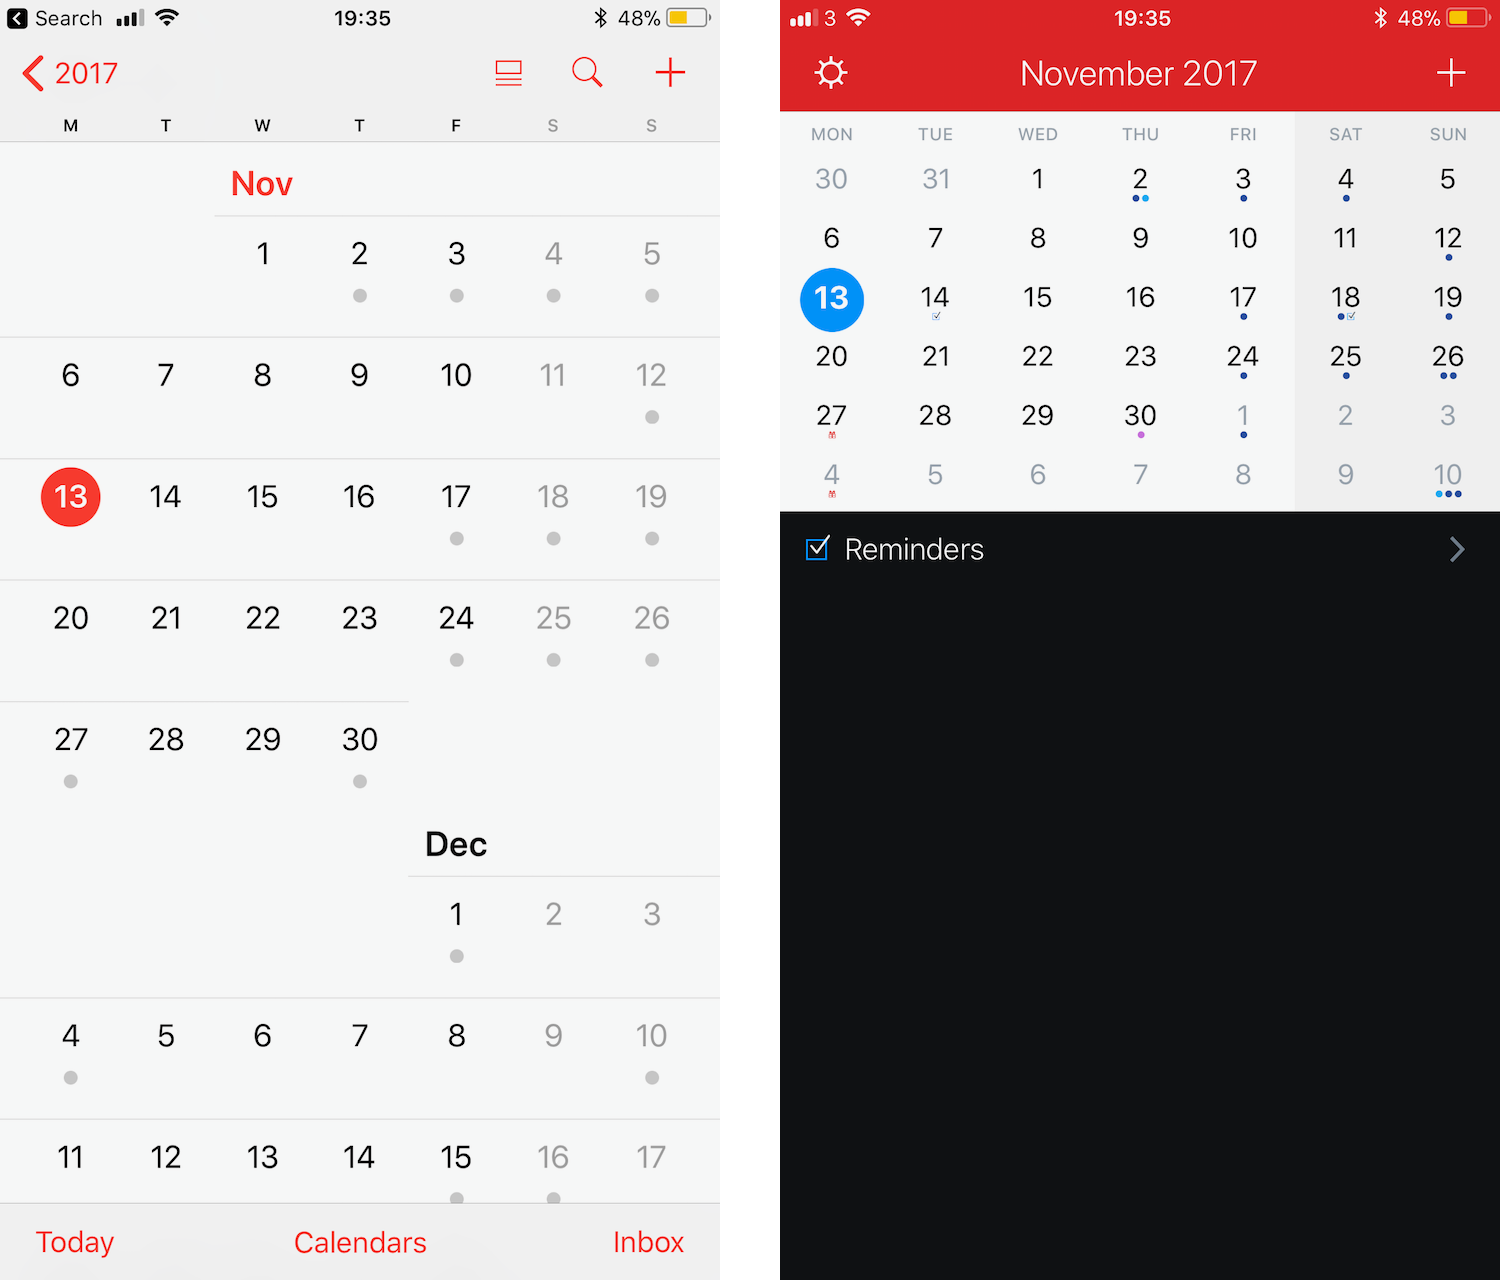
For the design of the calendar I took inspiration from my favourite calendar app, Fantastical 2, which shows a traditional month view with the days in the preceding and following months visible but greyed out. This is similar to how the built-in iOS calendar used to look, and is a style I far prefer to the newer iOS7-onwards style, where the months are separated and spaced out.
 On the left, a screenshot of the built-in calendar app from iOS7 onwards. On the right, a screenshot from Fantastical 2.
My one gripe with the Fantastical calendar is that you have to swipe left and right to navigate to the previous and next months, whereas the weeks are displayed chronologically from top to bottom. Intuitively, you expect to be able to swipe up and down to navigate the months. This is something I wanted to achieve in CABCalendarView.
Vertical scrolling
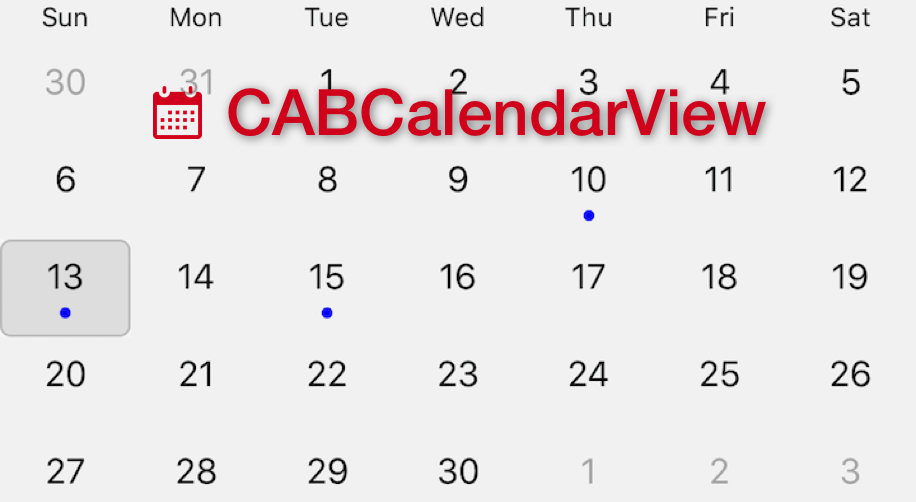
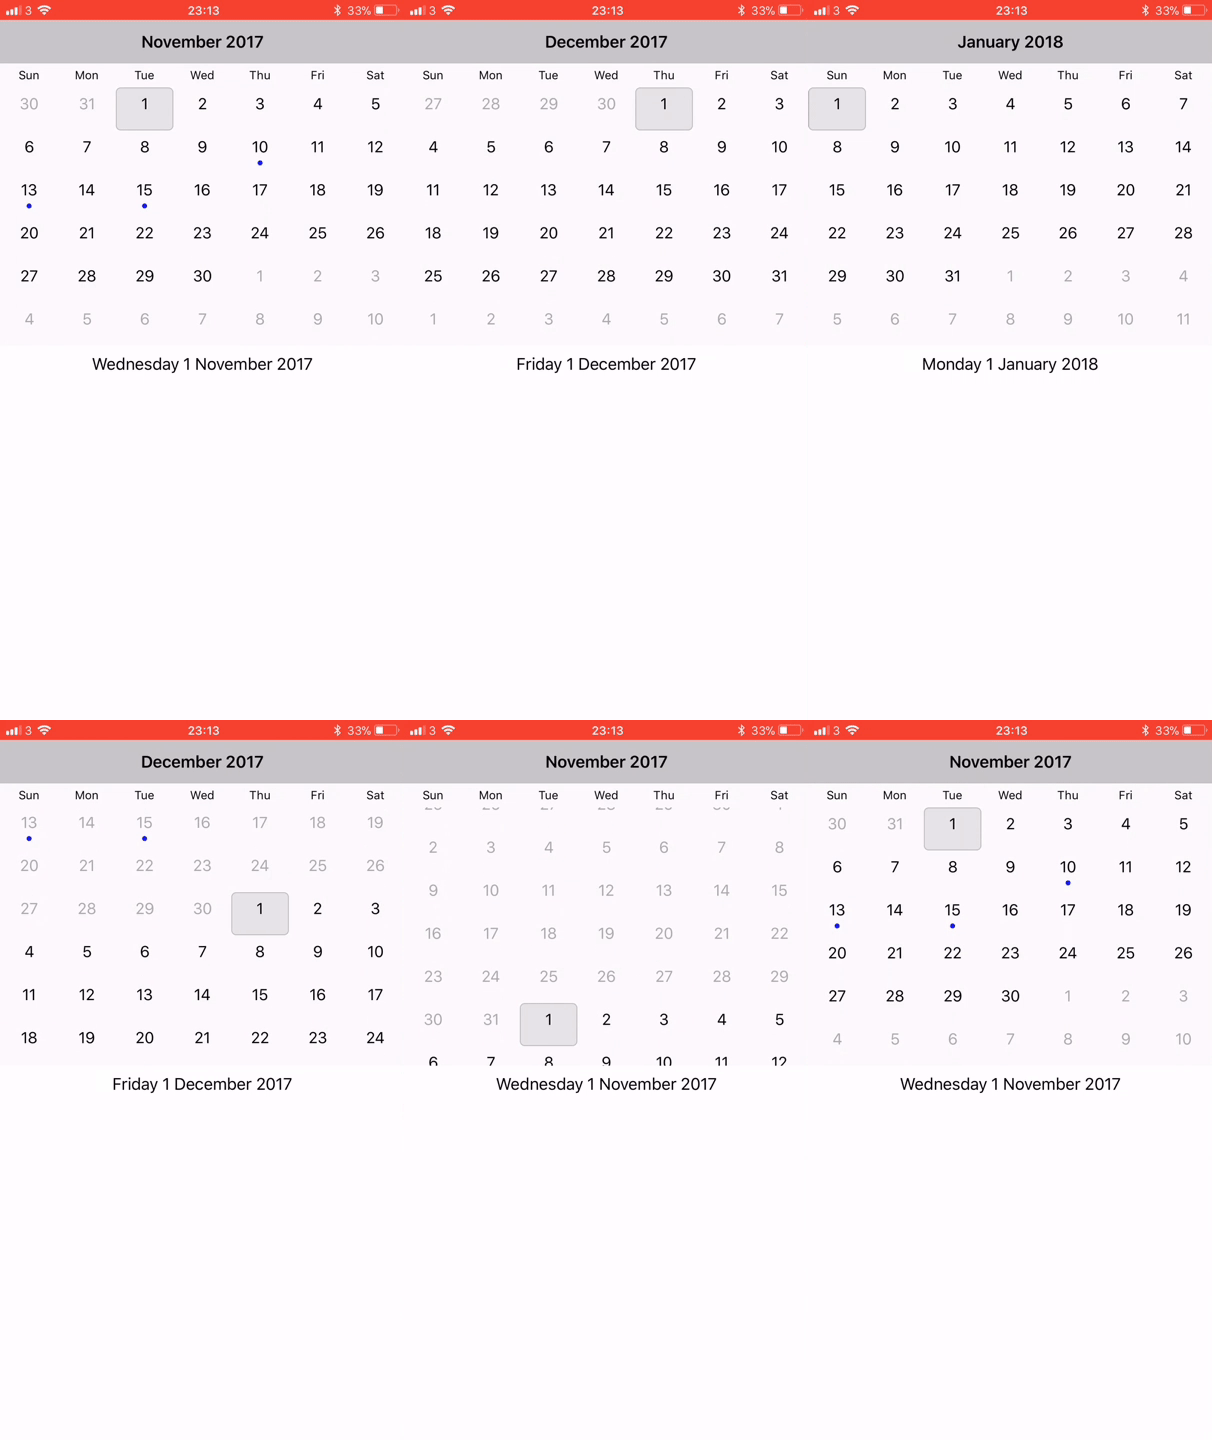
 CABCalendarView in action.
To accomplish this effect, I’m using a UITableView where each row displays a specific week. The problem with the UITableView is that it lets users scroll fluidly through the list of items, which would be weird for a calendar. I wanted the view to “snap” to the next month when scrolling down, effectively meaning I needed one swipe to scroll between four and six rows depending on how many weeks were in that month.
A quick note here in case you’re wondering why a month could contain six weeks - we’re talking about Mon-Sun periods, so if a month starts on a Sunday and contains 30 days, it will be completely contained within six Monday-Sunday periods, although the first and last weeks will contain some days from other months too.
The implementation of CABCalendarView does some clever (but quick) calculations to work out how many rows it needs to scroll to get to the next month, and then overrides some UIScrollView methods to snap the table to the appropriate row. You can see this in action above.
Delegate pattern
By using the delegate pattern, CABCalendarView becomes really easy for developers to integrate into their apps, because if they’ve ever used a UITableView they already know what to do.
Once the CABCalendarView has been added, a CABCalendarViewDataSource and (optionally) a CABCalendarViewDelegate must be set, and their methods implemented.
The data source protocol allows developers to pass in an NSCalendar to the view. This is Apple’s framework object which handles the heavy lifting of date calculations. I assume most people will just use the Gregorian calendar, but CABCalendarView will work with other calendar types.
Another important, although optional, method in the data source asks whether an event is present on a specified date. This tells the calendar whether to show an event marker under that specific date.
The delegate contains a single optional method to notify it when the user selects a date on the calendar. Perhaps you have a separate subview which displays the events the user has scheduled for that day. You can use this method to update that view so it stays in sync with the calendar view.
Storyboard
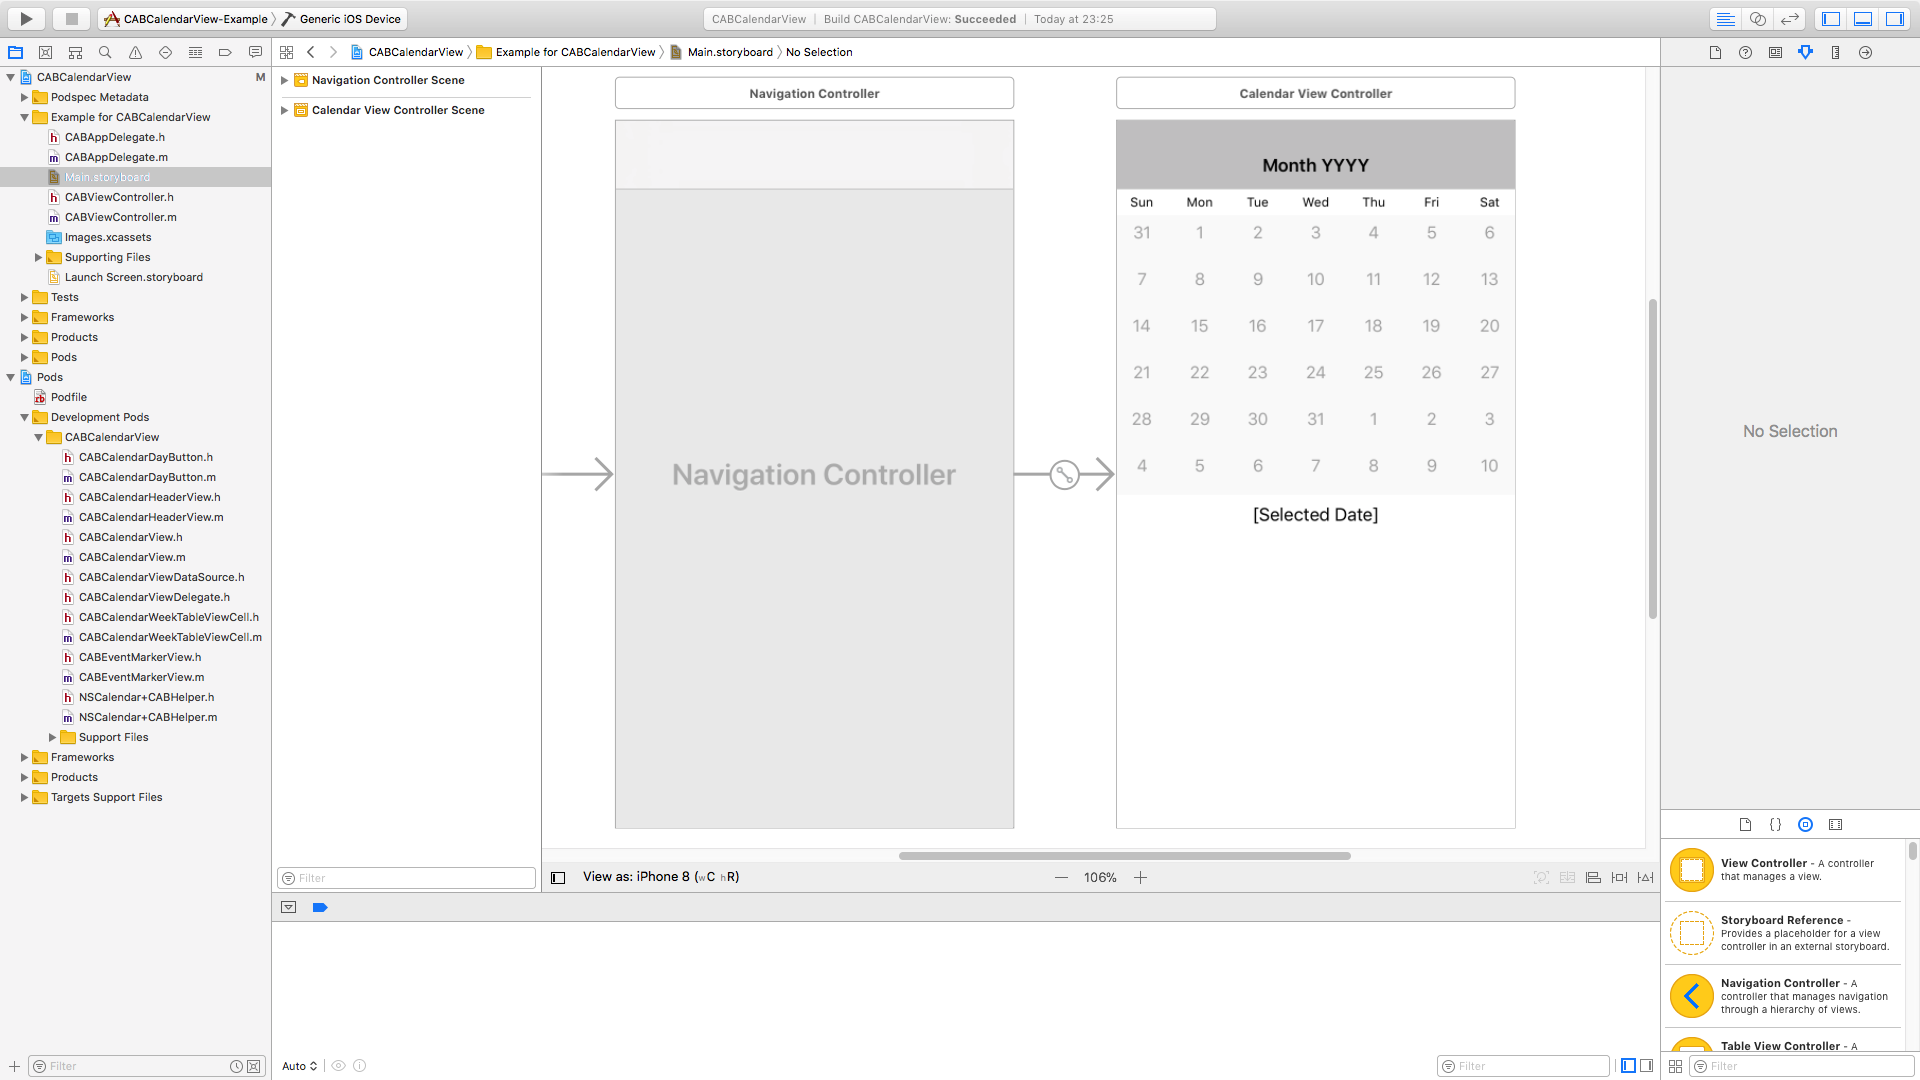
Another awesome feature of this component is that it works seamlessly in Xcode’s Interface Builder. Just add a new UIView, set the class to CABCalendarView, and you’ll see a preview in your storyboard as well as the option to set the row height. Remember, the view needs to be 6x the height of the specified row height to display properly. The calendar looks great with a row height of 44pts.

Give it a try!
So that’s it! If you want to give it a go you can find the source code and installation instructions on GitHub. Let me know on Twitter if you use it in your app, I’d love to hear about anywhere it’s being used. If you have any ideas for improvements let me know or, of course, feel free to submit a pull request!